
Welcome, global explorers and aspiring U.S. visitors! Today, we’re diving into the world of the DS-160 form, a critical step for anyone seeking a non-immigrant visa to the United States. Fear not, for this journey through the DS-160 doesn’t have to be a labyrinth of confusion. Let’s embark on this adventure together, transforming a daunting task into a clear path toward your American dreams!
Chapter 1: Understanding the DS-160
# What is the DS-160?
The DS-160, Online Nonimmigrant Visa Application form, is your golden ticket to apply for a range of U.S. visas, including tourist, business, student, and exchange visas. It’s an online form that collects your personal information, travel plans, and background details.
# Why is it Important?
Completing the DS-160 accurately is crucial. Mistakes or omissions can lead to delays or even denials. Think of it as your first impression with U.S. immigration authorities.
# Fee
While filing the DS-160 itself is free of charge, you are required to pay the application fees for the particular visa you are applying for.
-For the majority of non-petition-based nonimmigrant visas, including those for tourism, business, or TN visas, the standard fee is $185.
-On the other hand, for visas that are based on petitions, the usual fee is around $190.
The fees differ based on the visa category, so it’s important to verify the applicable fees for your particular visa type.
Chapter 2: Preparing for the DS-160
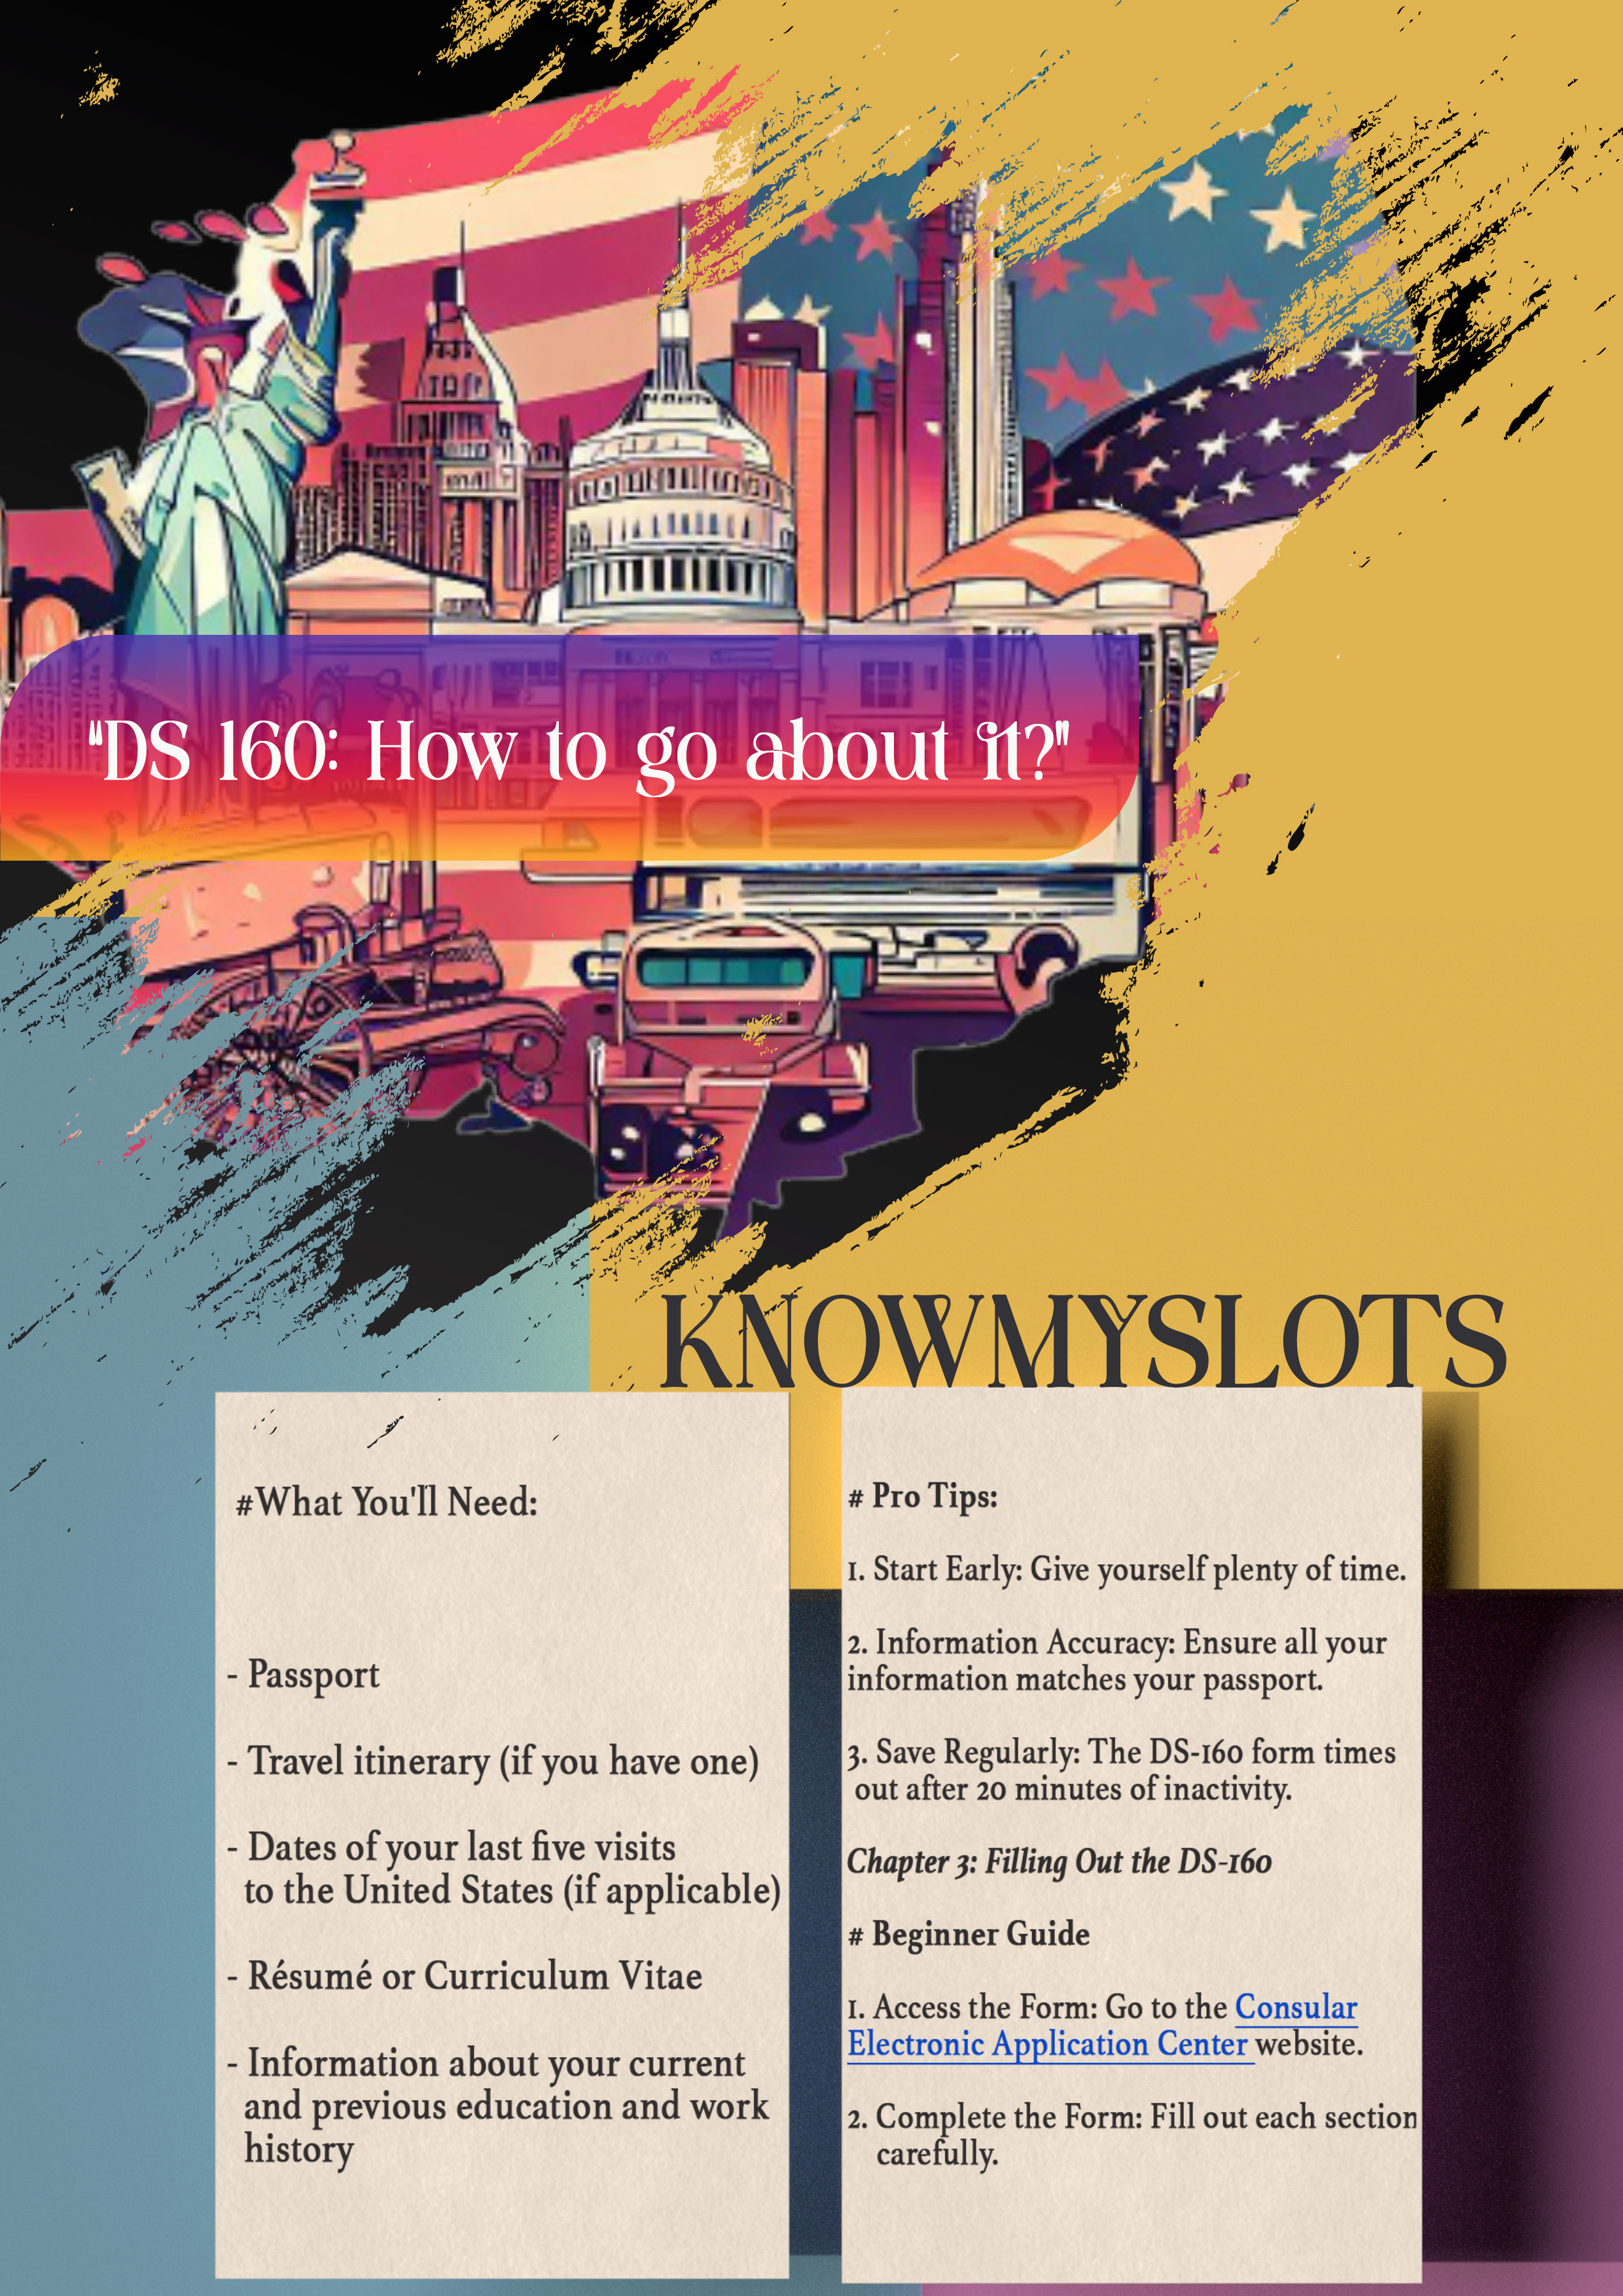
# What You’ll Need:
– Passport
– Travel itinerary (if you have one)
– Dates of your last five visits to the United States (if applicable)
– Résumé or Curriculum Vitae
– Information about your current and previous education and work history
# Pro Tips:
1. Start Early: Give yourself plenty of time.
2. Information Accuracy: Ensure all your information matches your passport.
3. Save Regularly: The DS-160 form times out after 20 minutes of inactivity.
Chapter 3: Filling Out the DS-160
# Beginner Guide
1.Access the Form: Go to the Consular Electronic Application Center website.
2.Complete the Form: Fill out each section carefully.

# Step By Step Guide
Begin by selecting the location where you’re applying for your visa. If your circumstances change and you need to travel, you can schedule your interview at any U.S. embassy or consulate, regardless of your initial choice.
Next, you’ll see your Application ID and be asked to answer a security question. Record these details as they are essential for accessing your application later. Your Application ID is also displayed on the top right corner of each DS-160 page. If forgotten, it can be retrieved online with your security question.
Remember, your saved DS-160 form is accessible for only 30 days. If you need more time, download and later re-upload the form.
Section-by-Section Breakdown
–Section 1: Personal Information
Provide your name, birth date, marital status, nationality, passport or national identification numbers, and U.S. social security number or taxpayer ID, if applicable.
–Section 2: Travel Information
Detail your U.S. travel plans, including trip purpose, arrival and departure dates, and U.S. address. If you’re uncertain, estimated dates are acceptable.
–Section 3: Travel Companions
Include information about anyone traveling with you, excluding work colleagues. Each traveler needs their own DS-160 form.
–Section 4: Previous U.S. Travel
Disclose any prior U.S. visits, visa denials, or immigrant petitions filed with USCIS.
–Section 5: Address and Phone Information
Provide your current contact details and list all social media handles used in the past five years.
–Section 6: Passport Information
Enter your passport details. If your passport doesn’t have a “Passport Book Number” or “inventory control number,” select “Does Not Apply.”
–Section 7: U.S. Point of Contact
List a U.S. contact person or organization you plan to visit.
–Section 8: Relatives
Fill in basic information about your parents, and if married, your spouse’s details.
–Section 9: Work, Education, and Training
Document your occupation, education, and work history over the past five years, including travel history and membership in professional organizations.
–Section10: Security and Background Information
Answer 25 security and background questions carefully, as errors can impact your application.
–Section11: Applicant Photo
Upload a photo that meets U.S. Department of State guidelines. Remember, this online photo is different from the printed photograph required for your visa interview.
–Section12: Review, Confirm Location, Sign, and Submit
Review your answers, confirm your application location, agree to the terms, and submit. Print the confirmation page for your visa interview.
# Common Pitfalls:
– Not saving your work
– Missing information
– Incorrect photo format
Chapter 4: After Submission
# What’s Next?
– Confirmation Page: Print this out. You’ll need it for your visa interview.
– Schedule Your Interview: Depending on your country, you might need to schedule an interview at the U.S. embassy or consulate.
– Prepare for Your Interview: Gather all required documents and prepare for common interview questions.
Your Journey Ahead
Remember, the DS-160 is just the beginning of your U.S. adventure. Approach it with care and attention, and you’ll be on your way to creating unforgettable memories in the United States.
*Note: The information in this blog is for general guidance and does not constitute legal advice. For specific questions, please consult a qualified immigration attorney or the U.S. Department of State.*